
Stringing & Setup At The Martin Factory: A Step-By-Step Guide

From the workbenches to your hands, every step of the manufacturing process at the Martin Guitar factory in Nazareth, Pennsylvania, is dedicated to giving you an instrument that will help you unleash your inner artist. With over 190 years of experience, Martin Guitar has honed its skills while continuing to innovate and maintain its place as a leader in the industry.
The process of stringing and setting up each guitar is one of the most important steps in the process and marks the final stop on a guitar’s journey through the factory. The operators ensure that every instrument leaves in perfect condition, ready to play right out of its case.
In this post, we’ll take a behind-the-scenes look at what the stringing and setup process is like at Martin Guitar, with insights from Manufacturing Manager Dave Doll.

Step 1: Visual Inspection
The journey begins in the final polishing department, where stringers can choose from a variety of gloss instruments recently inspected and repolished by Martin’s finishing team. Satin-finished instruments are selected straight from the final assembly department. For the purposes of this post, Dave went with one of their new Standard Series models – the SC-28E.

The guitar is then brought to the stringer’s bench, where it’s thoroughly inspected. As Dave explains, “First, we verify that the model and the serial number are correct and make sure all the labels inside are accurate.”

Then, it's time for a detailed visual inspection to ensure there are no scratches, dents, or any imperfections.” Dave continues, “We check for any openings at the neck and bridge, dry polish, delamination of the finish, loose frets, or any cracks. It’s important to make sure that everything is exactly as it should be, including all the correct visual appointments that a 28-style guitar should have.”

Step 2: Electronic & Nut Slot Checks
Once the initial visual inspection is complete, the electronics are tested. “We plug it in and if there’s an undersaddle pickup like there is on this guitar, we tap the bridge to make sure the electronics work,” says Dave.
Dave also makes sure the bottom of the saddle is perfectly flat. “One of the reasons that we don't typically use bone saddles for guitars with electronics is when you have a saddle with potential hollows or deviations on the bottom, it's not going to translate down to the transducer,” says Dave. “So, you want to make sure it's flat.”

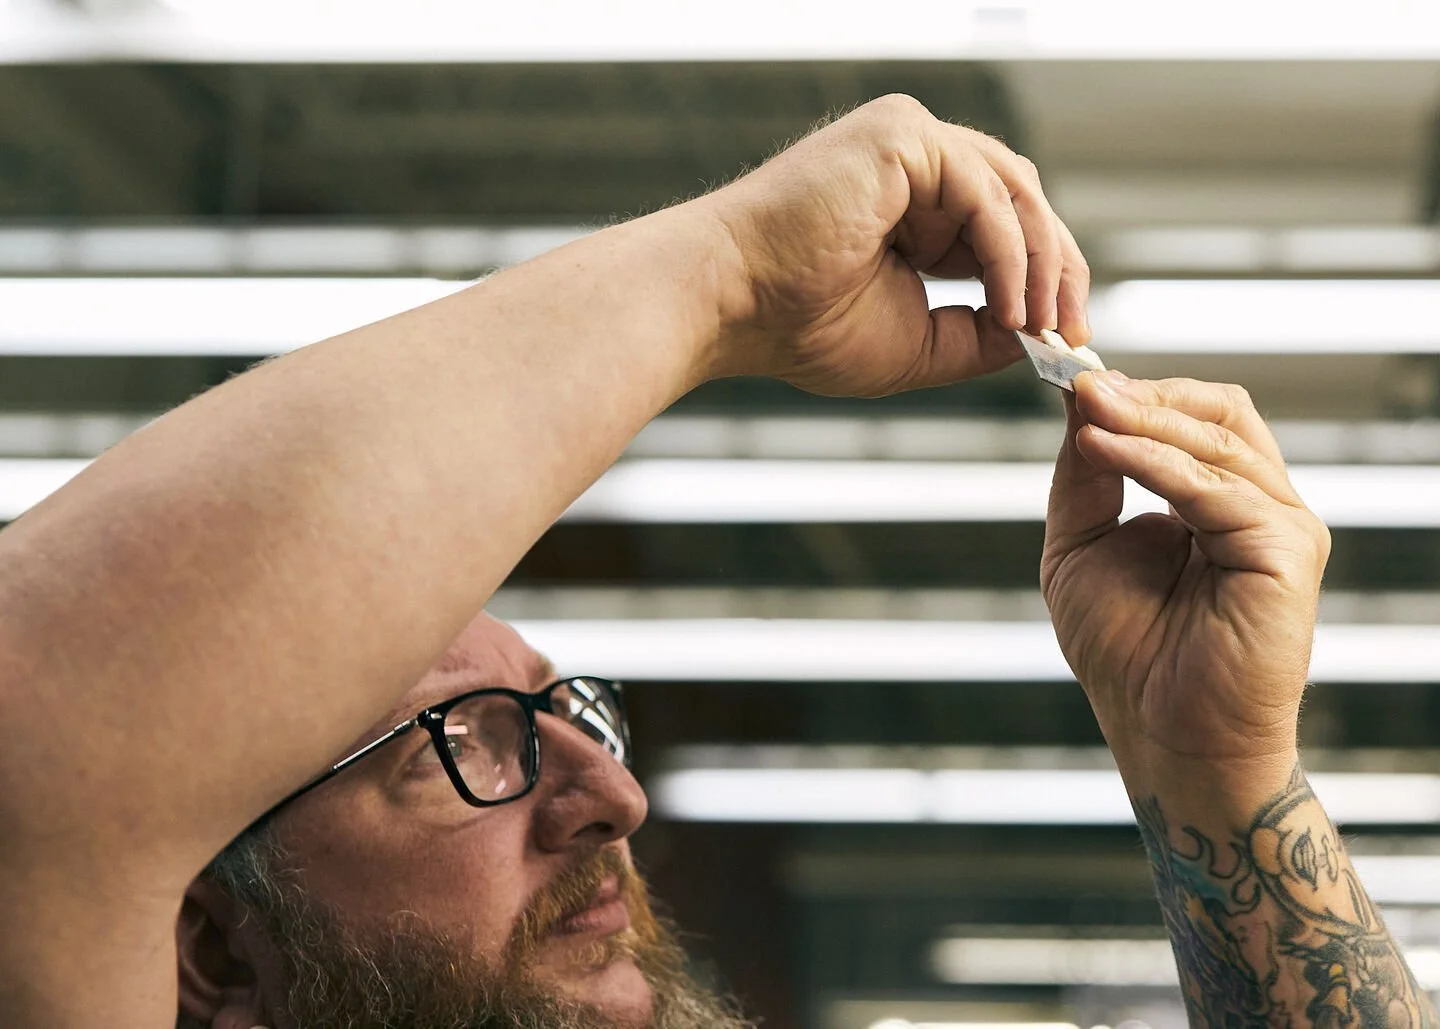
After testing the electronics, the nut slots are examined using a nut slot gauge. “We check to make sure all the slots are at the right depth. If they’re not, we take a file to adjust them as needed,” Dave explains.

Step 3: Setting The Bridge Pins & Tuning Machines
The bridge pins are placed into the bridge first, before stringing, to ensure they’re seated uniformly. “They should never be flush. If they are, they’ll wear out later. If they sit a little high, we use reamers to create the perfect amount of room for the pins,” Dave notes.

Like most operators, Dave has a personal preference when it comes to setting up the tuning machines before stringing the guitar. “I like to set the tuner poles to about 45 degrees, all facing inward. Some people set them straight, but this is my way.”

Step 4: Stringing The Guitar
With the guitar visually inspected and the bridge pins and tuner poles in place, it’s time to start stringing. “The SC-28E gets light gauge Kovar™ strings, so we grab those and start seating the ball ends in the bridge, one at a time,” Dave describes. He says having the bridge pins already in place allows for a smoother stringing process.

Up at the headstock, Martin has a specific way of stringing. “We feed the string through the tuner pole, give a little slack, then go underneath, pulling it tight to the post, then it’s back over the string to lock it in place,” explains Dave. For a full visual demonstration of the Martin stringing process, click here.

Automatic string winders are used to tighten each string while the operator uses their other hand to keep tension on the string that’s being tuned. “Once they’re all tight, we cut off and recycle the slack that’s left at the tuner pole,” says Dave.
Martin makes sure to recycle all our string waste – one of the many examples of our deep-seated commitment to sustainability.

Step 5: Tuning & Final Adjustments
Next, the guitar is tuned. “Some operators use a chromatic tuner, but I like to use a pitch pipe tuner,” says Dave. “I always start by stretching the strings down at the bridge to make sure the ball ends are seated properly. Then, as I tune, I continue to stretch and tune the strings until they don’t move anymore.”

The neck relief is then checked using a neck relief gauge, set to about four thousandths of an inch for the SC-28E. “We check the tuning again and make sure the electronics are working perfectly by plugging in and playing all the way up the neck,” he adds.

Step 6: Final Touches & Casing
The final steps involve careful placement of the pickguard and installing the strap button. After that, it’s time for the guitar to go in its case. “We place the end pin and case key in the case pocket, along with a QR code for our care and feeding guide and any other relevant information,” says Dave.

Before placing the guitar in its case, another thorough wipe-down and final visual inspection is done to remove any fingerprints or minor blemishes.

Step 7: Reinspection & Shipping
Once the setup process is complete, the guitar is placed in its case to sit for four days. “On the fourth day, a different operator reinspects the guitar, checking the action and making any needed adjustments. After it’s reinspected, it goes out the door,” Dave says.
“And that right there is how we string and set up your Martin guitar.”
